

Table of contents
- 📝 Laying out the plan
- 🚩 Problems with Gitlab CI
- 🤔 Why didn't you try Jenkins then?
- ⚙️ An underrated CI tool comes to the rescue
- So did the layout of the plan change?
- 🔨 Building the Go Application
- 🛠️ Testing the Go Application
- 🐳 Dockerizing my Go App
- 🚀 Implementing Continuous Integration (CI)
- 🚀 Implementing Continuous Deployment (CD)
- 🪄 Completion of the Project
- 🏁 Conclusion
Before I start with this blog I would like to confess something, this project was not at all easy😂. This blog might make it seem like it was just a straight-forward project but trust me it wasn't. It was quite a bit of a challenge but I overcame it and the fruit of this project i.e. the actual learnings were immense for which I'm grateful that I gave this project a go.
📝 Laying out the plan
So before starting with the project I always like to think about what I am going to do moving forward. In this case, I decided that the application that I'm going to make will be in the Go programming language (as I'm learning to Go side-by-side too so it would make sense to give myself another challenge). Now came to decide the tools I was gonna use for the CI (Continuous Integration) and CD (Continuous Deployment). For the CD part, I already decided to go for ArgoCD as I have already been learning about it for a while now. Also completed a small course recently by Akuity called Introduction to Continuous Delivery and GitOps using ArgoCD.

Now I had to decide on a tool for Continuous Integration and as we know there are many tools out there such as Gitlab CI, Circle CI, Jenkins etc. So as of now, you must have understood that I like challenges so I tried to go for Gitlab CI but if you have taken a look at my project repo then you already know this decision didn't work out too well.....
🚩 Problems with Gitlab CI
I was really excited to use Gitlab CI and as we know Gitlab is also a version control system like GitHub so I decided to use Gitlab all the way. But things didn't turn out quite well when I made a simple Hello World program in Go and tried to run a simple Build pipeline. Why? Because Gitlab has now started asking for credit cards to reduce abuse of Gitlab Infrastructure. I didn't have a credit card so I wasn't able to test my pipelines 😭
🤔 Why didn't you try Jenkins then?
I know I know Jenkins is a pretty cool CI tool but I just can't work with it and I don't know why. After my Gitlab idea failed I tried giving Jenkins a try but generating and storing all those access tokens in Jenkins was a huge hassle. Also faced a lot of issues writing my Jenkinsfile too. Moreover, I don't know why but the logs weren't showing why my pipeline was failing so being frustrated I just dropped the idea of using Jenkins.
⚙️ An underrated CI tool comes to the rescue
Here's a hint as to what it might be:

If you still haven't realized what tool this is let me tell you this is GITHUB ACTIONS.
This is such an underrated platform that automates building and testing codes and deployment pipelines. Well, this is just a textbook definition of what CI tools are but Github Actions really was a lifesaver. I'll tell you all about this more in detail later, let's start with the project now, shall we?
So did the layout of the plan change?
Of course, it did, this is the updated layout of the plan:

🔨 Building the Go Application
So the first step was to build our very own Go Application, I could have just gone with the Hello World thing but nope where is the fun in that right? So I have also been studying APIs for a while now so I decided to make a simple API with GET, and POST requests.
Note: If you're building something with a tool always check the documentation
Why do I say this above Note thing? Cause as I was searching for a guide to help me with this API, I found a really simple one on Go Documentation. While reading about the API, I also got to know about Gin Framework. So I started following the documentation step by step and VOILA !!!!
package main

import (
    "net/http"
    "github.com/gin-gonic/gin"
)

// album represents data about a record album.
type album struct {
    ID     string  `json:"id"`
    Title  string  `json:"title"`
    Artist string  `json:"artist"`
    Price  float64 `json:"price"`
}

// albums slice to seed record album data.
var albums = []album{
    {ID: "1", Title: "Blue Train", Artist: "John Coltrane", Price: 56.99},
    {ID: "2", Title: "Jeru", Artist: "Gerry Mulligan", Price: 17.99},
    {ID: "3", Title: "Story of My Life", Artist: "Shivang Shandilya", Price: 99.99},
    {ID: "4", Title: "Sarah Vaughan and Clifford Brown", Artist: "Sarah Vaughan", Price: 39.99},
}

func main() {
    router := gin.Default()
    router.GET("/albums", getAlbums)
    router.GET("/albums/:id", getAlbumByID)
    router.POST("/albums", postAlbums)

    router.Run("localhost:8080")
}

// getAlbums responds with the list of all albums as JSON.
func getAlbums(c *gin.Context) {
    c.IndentedJSON(http.StatusOK, albums)
}

// postAlbums adds an album from JSON received in the request body.
func postAlbums(c *gin.Context) {
    var newAlbum album
    if err := c.BindJSON(&newAlbum); err != nil {
        return
    }
    albums = append(albums, newAlbum)
    c.IndentedJSON(http.StatusCreated, newAlbum)
}
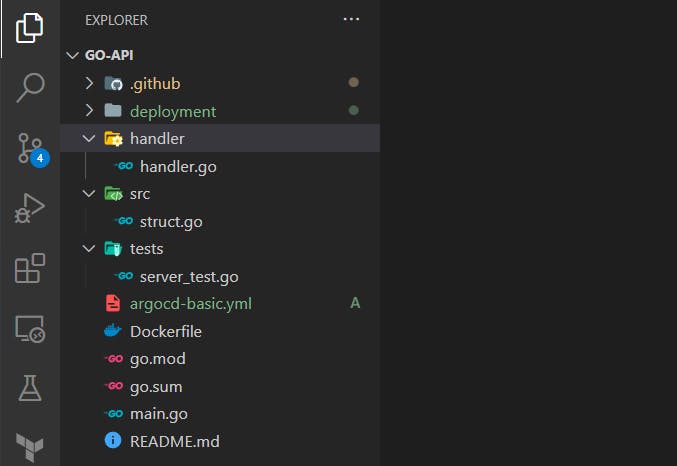
But there was a problem they told us to keep all the functions in main.go file which made my API look crowded which I didn't like at all. So, I decided to make a separate folder for my GET and POST requests function, one for my struct and one called tests for my Unit Testing (this took really long and was so tough for me but I figured this out eventually)
So it all looked something like this:
Was able to run the app smoothly by running the command:
go run .
But in order to use the GET command to fetch all the albums, I had to run this command which was kind of annoying:
 curl http://localhost:8080/albums \
    --header "Content-Type: application/json" \
    --request "GET"
So, that's when I got to know about Thunder Client an extension on VS Code that lets you make API calls without writing all that code above (you can use other tools like Postman too but I didn't wanted to switch again and again while working)

So it all worked out in the end, I was able to break down the code pretty easily but now came the hard part ...... TESTING.
🛠️ Testing the Go Application
Ohh boy I didn't know what I was jumping into, my habit of just taking a challenge every time backfired here. Testing took me around 8 - 9 hrs and I'm not even kidding. Well, a seasoned folk would be able to do this in 10 minutes but I who just learned Go, made just 2-3 projects and wrote unit tests for the first time, really had me screaming 😂
So, a blessing in disguise named Pradumna Saraf came to help me. I'm pretty sure most of the folks reading this blog have at least heard of him right? I messaged him and he without any question jumped on a Google Meet with me. I explained to him what my project was and how I'm stuck. But I didn't know Pradumna also never wrote Unit tests before and this was going to be his first time debugging or rather creating unit tests with me.
He literally sat down with me for straight 4 hours and we finally wrote the unit tests for our app, it was just absolutely mind-blowing how much we both learned in such a short amount of time. Literally hats off to him without him I wouldn't have been able to complete this project.
Well now that our Go App was finally completed and all the tests were running successfully, it was time to dockerize our app and test it out locally.
🐳 Dockerizing my Go App
So we did the obvious steps to create a docker image for my Go Application:
docker build . -t golang-api
And after this, I started the app from my Docker Desktop

Don't pay attention to the name please 😂, Docker assigns names randomly if you don't provide it with one, so now my app was working perfectly in the localhost too.
🚀 Implementing Continuous Integration (CI)
So believe it or not but apparently I found writing Github Actions much easier than a Jenkinsfile. I decided on creating two workflows for my CI pipeline. One named as CI which included building and testing of my Go Application and other was named as Publish Image to DockerHub. Publish Image to DockerHub workflow would only start when CI was executed successfully. This workflow basically included building my Docker Image and pushing the same to the DockerHub.
ci.yml file was as follows:
name: CI

on:
  push:
    branches: ["main"]
  pull_request:
    branches: ["main"]

jobs:
  build-test:
    name: Build and Test
    runs-on: ubuntu-latest

    steps:
      - name: Checkout Code
        uses: actions/checkout@v3

      - name: Setup Go
        uses: actions/setup-go@v4
        with:
          go-version: 1.19

      - name: Build
        run: go build -v .

      - name: Test
        run: go test -v ./tests
and publish-dockerhub.yml was as follows:
name: Publish Image to DockerHub

on:
  workflow-run:
    workflows: ["CI"]
    types:
      - completed

jobs:
  build:
    runs-on: ubuntu-latest

    steps:
      - uses: actions/checkout@v3

      - name: DockerHub Login
        uses: docker/login-action@v2.1.0
        with:
          username: ${{ secrets.DOCKERHUB_USERNAME }}
          password: ${{ secrets.DOCKERHUB_PASSWORD }}

      - name: Build the Docker image
        run: docker build . --file Dockerfile --tag ${{ secrets.DOCKERHUB_USERNAME }}/golang-api

      - name: Docker Push
        run: docker push ${{ secrets.DOCKERHUB_USERNAME }}/golang-api
Here, secrets.DOCKERHUB_USERNAME and secrets.DOCKERHUB_PASSWORD are the secrets that you store for a project in your GitHub repository. DOCKERHUB_USERNAME is the username you have on DockerHub and DOCKERHUB_PASSWORD can be your password for the same or an access token.
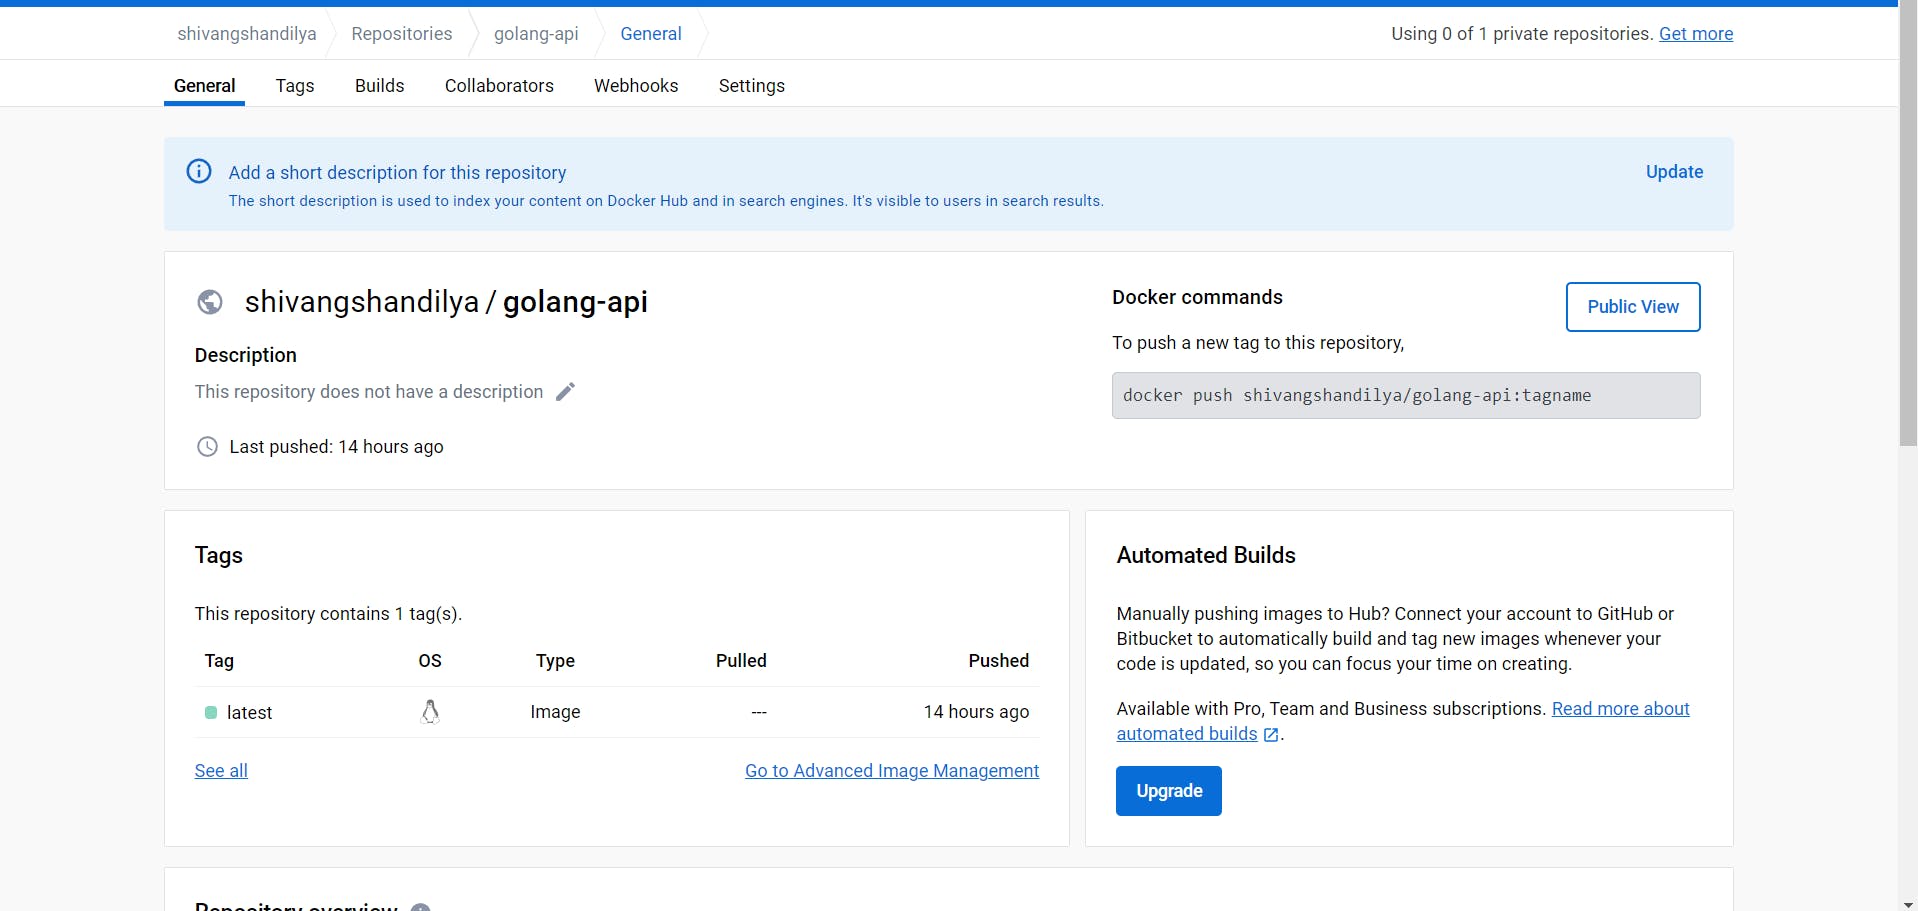
After both workflows were set up I tried running the workflow manually and VOILA!! my Docker Image was being pushed to the DockerHub which meant that it was now time to move to the CD part.
🚀 Implementing Continuous Deployment (CD)
Implementing the CI part of the pipeline wasn't that difficult, it was pretty easy but now came the fun part CD. As discussed earlier we were going to integrate ArgoCD with our Kubernetes cluster and connect our ArgoCD with our GitHub repository so if any changes occurred in the repository ArgoCD will automatically fetch those.
Now there are 2 ways to integrate ArgoCD with your K8s Cluster I'm going to show how I did it first and will then show the second way.

So first things first we deploy our K8s Cluster, you can do this either locally or using any CSP (Cloud service provider). I deployed my cluster using the command:
minikube start --memory=4098 --driver=docker
So now we head on over to Operator Hub and search for ArgoCD there:

I already knew how you can integrate ArgoCD with your K8s cluster but this Operator Hub way was kinda new to me so I wanted to give this a shot.
So I didn't have Operator Lifecycle Manager (OLM) installed, so I did that it's just a 1-time install then after that you can use any operator that you wish to use.
curl -sL https://github.com/operator-framework/operator-lifecycle-manager/releases/download/v0.25.0/install.sh | bash -s v0.25.0
Now remember I told you above that there are 2 ways to integrate ArgoCD, one of the ways that I implemented was to open a Vim editor and make a file argocd-basic.yml.
And to add the following content:
apiVersion: argoproj.io/v1alpha1
kind: ArgoCD
metadata:
  name: example-argocd
  labels:
    example: basic
spec: {}
and then just basically apply this file with kubectl:
kubectl apply -f argocd-basic.yml
My pods started running and now all I had to do was to change example-argued-server's Cluster IP to NodePort in order to access it externally.
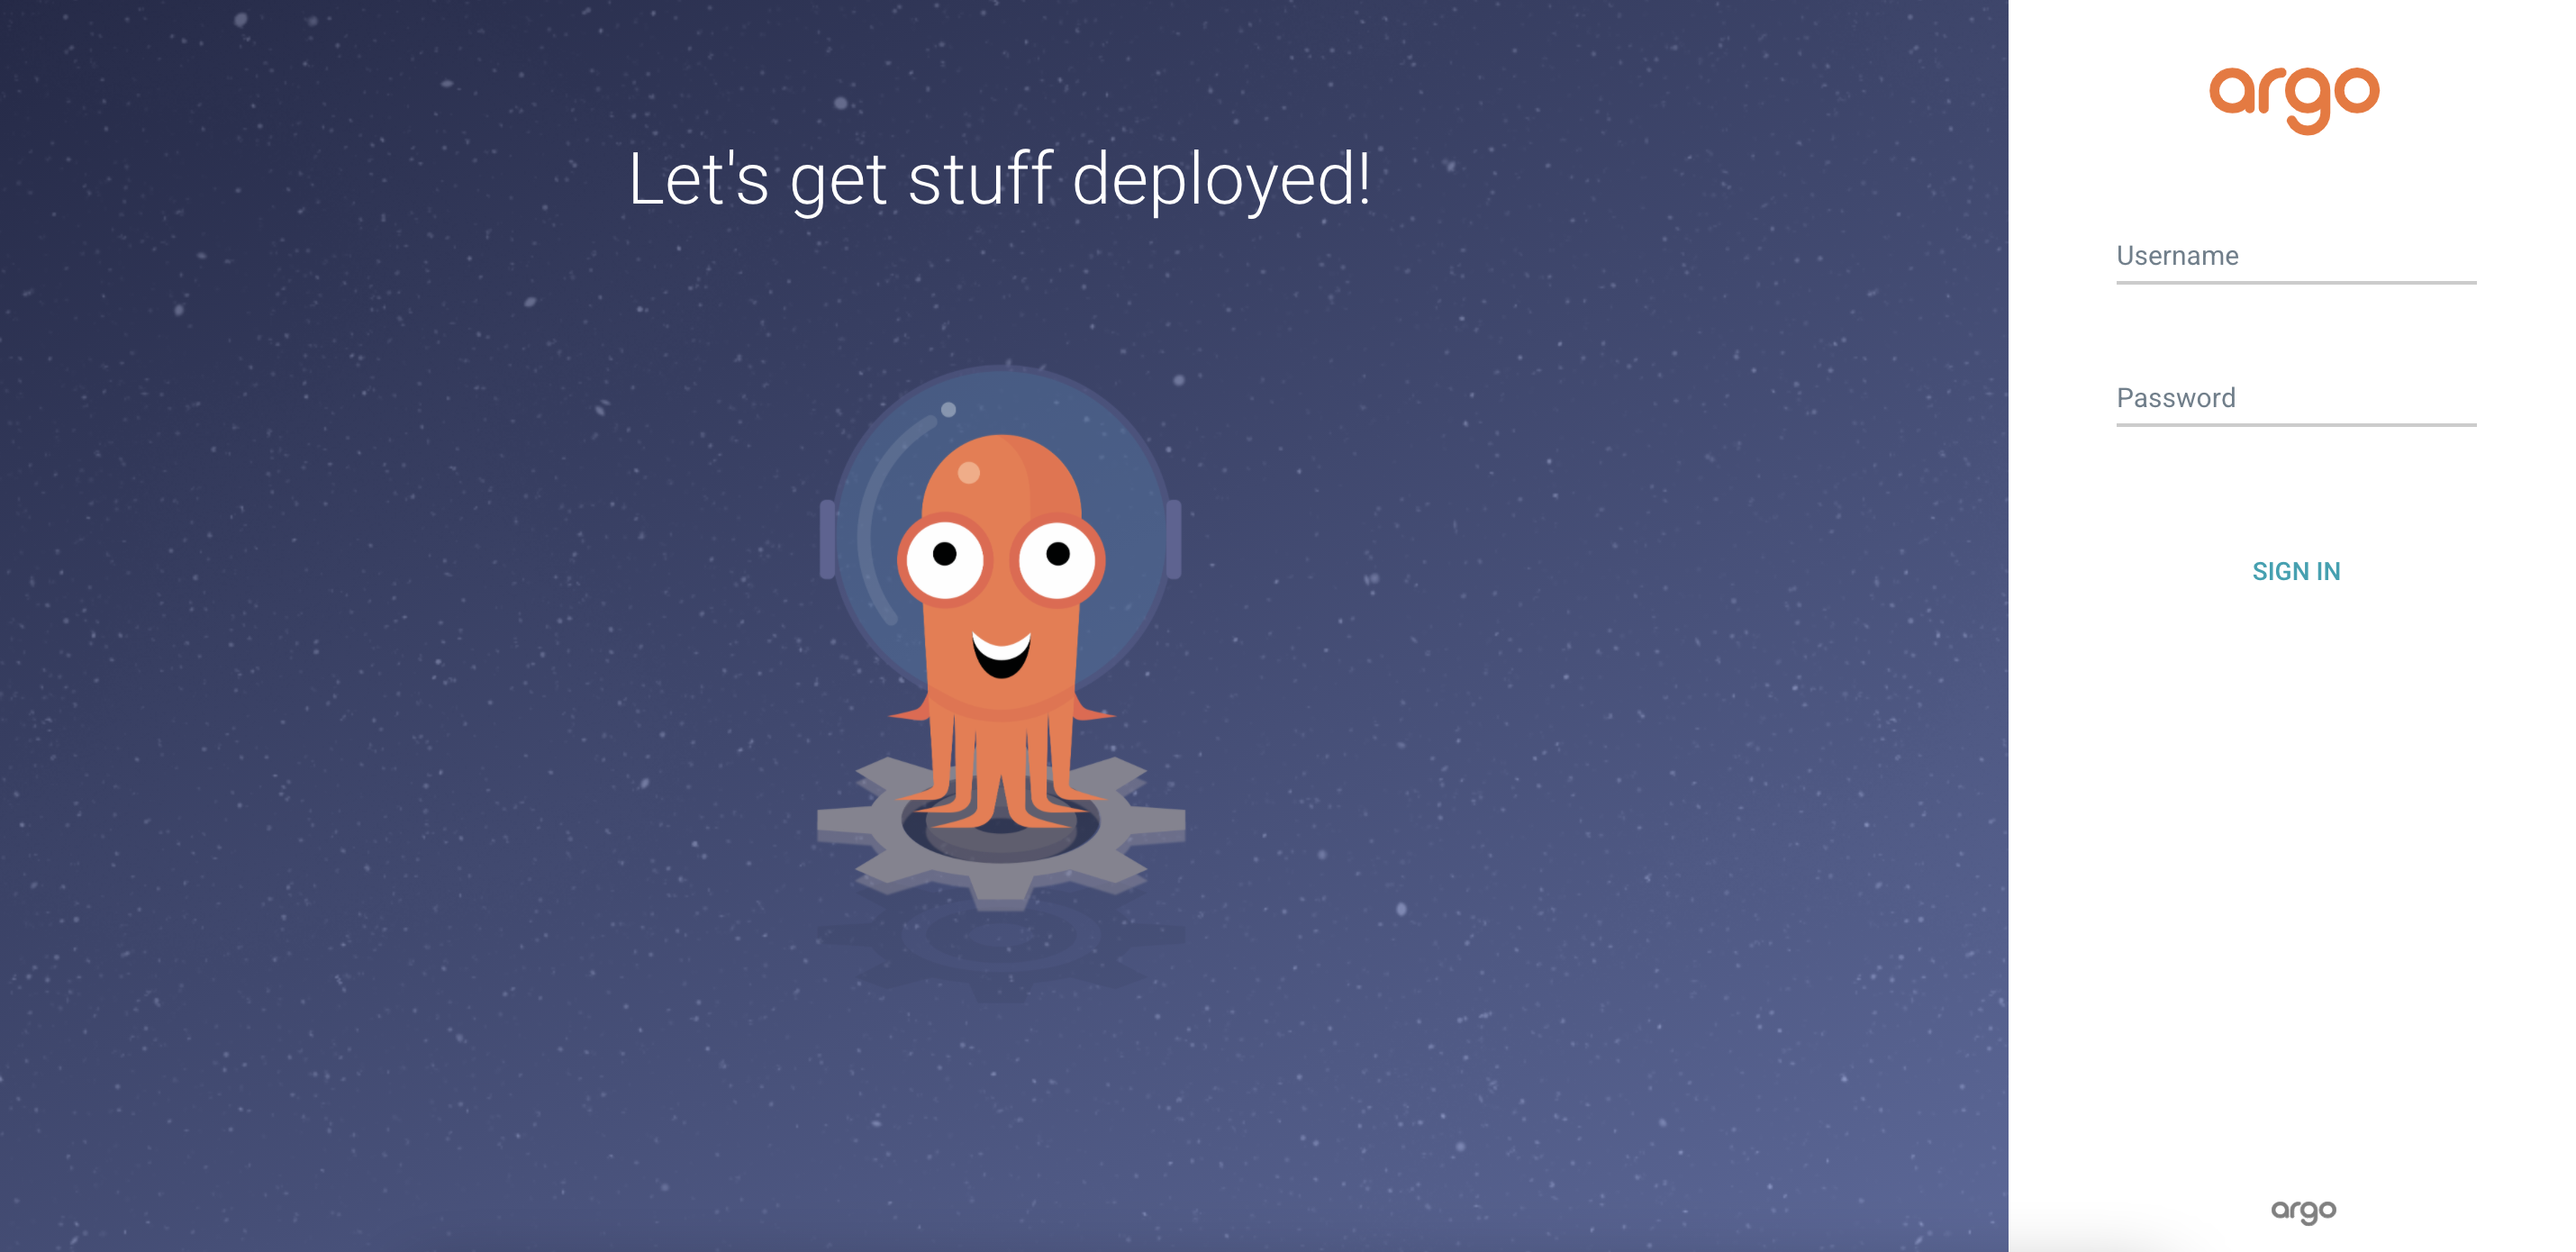
Now you would think, where is the integration with the project? So when you log into ArgoCD you are provided with the option to create a new application.
That's when it asks for the GitHub repository where your project is, along with the PATH of the deployment.yml file for your K8s Cluster.
Once you provide all the necessary details, that's when the MAGIC happens.
🪄 Completion of the Project
When I entered all the necessary details, VOILA!
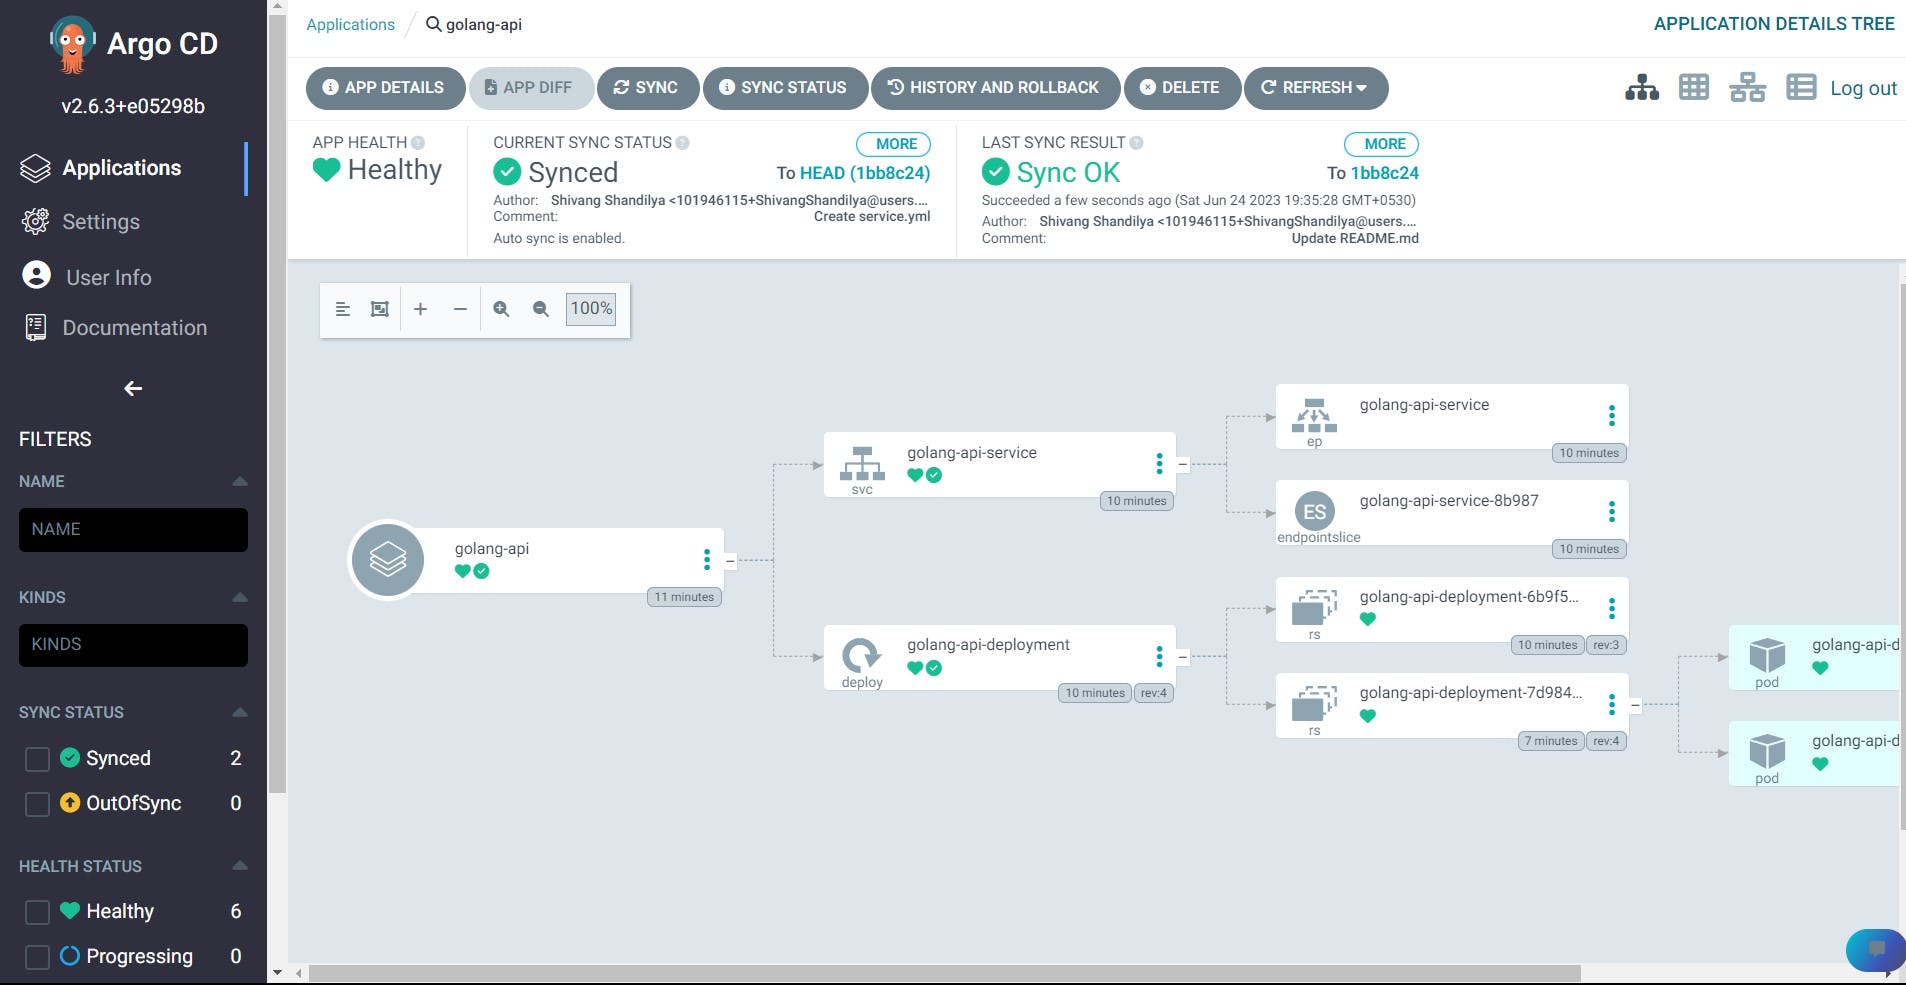
My project was integrated with ArgoCD finally!!! ( took a few tries tho ) but the satisfaction I got when it showed APP HEALTH - 💚 Healthy was just unbelievable.
🏁 Conclusion
I'm pretty sure that after reading this blog you at least got the feeling this project wasn't that easy but the learnings were immense. And as they say, you can learn all you want but you only get a better understanding of how things work when you apply that hands-on by yourself.
Hope you had a blast reading this blog 😃( not literally )
If you wanna check out my project, you can do that from here.
Also, this project is entirely open-source, so if you spot any errors in documentation or codebase or just wanna suggest an improvement in the project, feel free to raise an issue.